
Medical beds are essential equipment in hospitals, clinics, and home care settings. However, improper installation can lead to unstable structures, safety hazards, and reduced functionality. Understanding the correct installation process ensures patient safety, improves caregiver efficiency, and extends the bed’s service life. This guide explains the key steps and precautions for installing a hospital bed correctly.
Installing a hospital bed generally involves assembling the bed frame, attaching the headboard and footboard, installing side rails, mounting casters, connecting accessories such as IV poles, and testing all adjustment functions to ensure stability and safety before use.
Follow the steps below to ensure proper hospital bed installation.

Preparation Before Installation
Before beginning the installation, it is important to prepare the required tools, components, and workspace.
Check all components
Typical hospital bed components include:
- Bed frame
- Bed platform or bed board
- Headboard and footboard
- Side rails
- Casters (wheels)
- Crank handles or electric motors
- Mattress
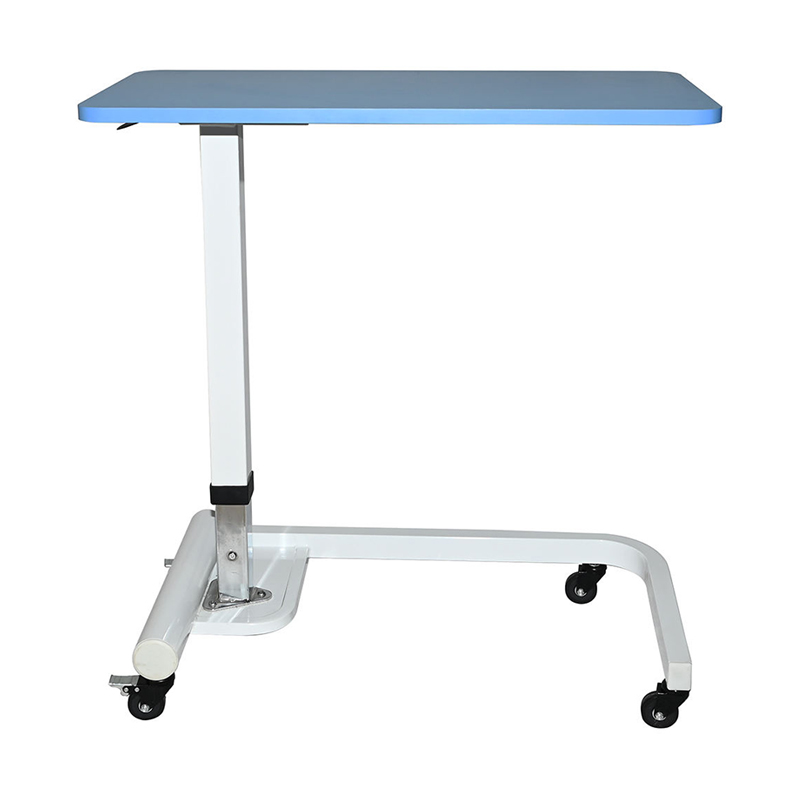
- Accessories such as IV poles or overbed tables
Make sure all parts are included and free from damage.
Prepare installation tools
Common tools may include:
- Allen keys
- Wrenches
- Screwdrivers
- Protective gloves
Having the correct tools ready helps ensure a smooth installation process.
Choose a suitable installation area
Install the bed in a clean, spacious area with enough room to move around the bed during assembly.
Assemble the Bed Frame
The bed frame forms the foundation of the hospital bed.
Steps:
- Place the bed frame base on the floor.
- Attach the main frame sections if the bed frame comes in separate parts.
- Secure the frame using the provided bolts or locking connectors.
- Ensure all joints are tightly fastened to maintain structural stability.
For heavy-duty hospital beds, two people may be required to assemble the frame safely.
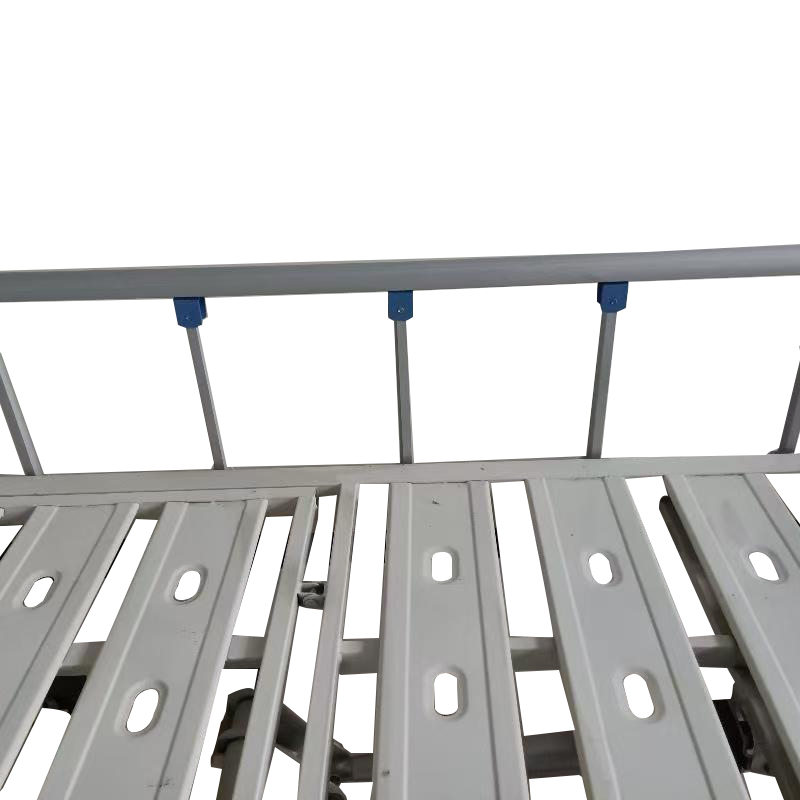
Install the Bed Platform
The bed platform supports the mattress and patient.
Steps:
- Position the bed platform onto the frame.
- Align the mounting holes with the frame brackets.
- Secure the platform with bolts or locking pins.
- Confirm that the platform is firmly fixed and does not shift.
Many modern beds use segmented platforms to allow backrest and leg elevation.
Attach the Headboard and Footboard
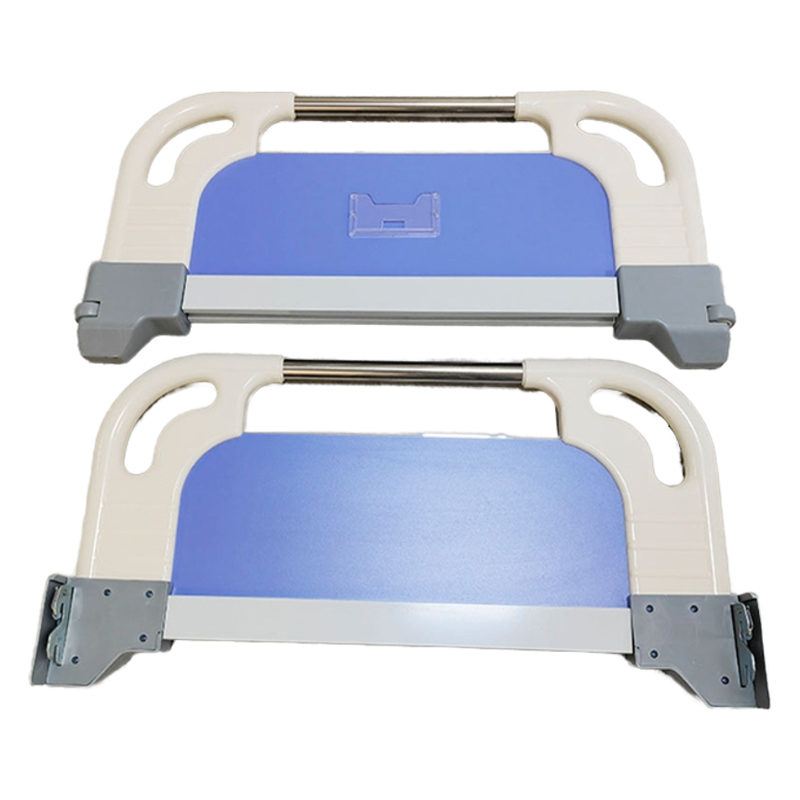
Headboards and footboards provide structural support and improve patient safety.
Steps:
- Insert the headboard posts into the designated sockets on the bed frame.
- Secure them using locking pins or screws.
- Repeat the same process for the footboard.
- Check that both boards are firmly attached and aligned.
Some hospital beds feature detachable ABS boards for easy cleaning and maintenance.
Install Side Rails
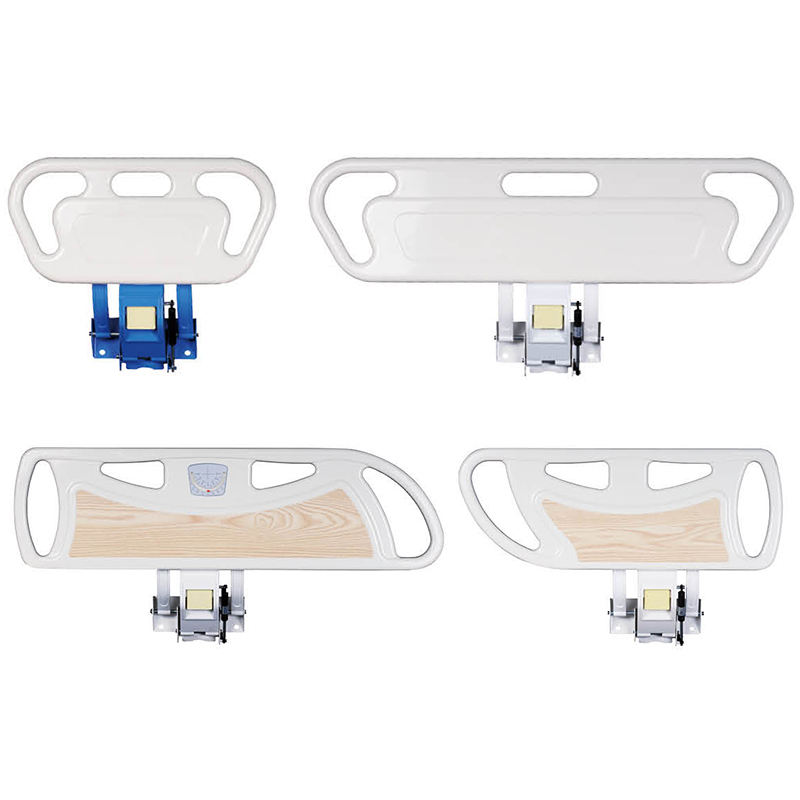
Side rails help prevent patients from falling out of bed and provide support when repositioning.
Steps:
- Align the side rails with the mounting brackets on the bed frame.
- Insert the hinge pins or fastening bolts.
- Tighten all connections securely.
- Test the rail movement by raising and lowering it.
Ensure the locking mechanism works properly to prevent accidental release.
Install the Casters (Wheels)
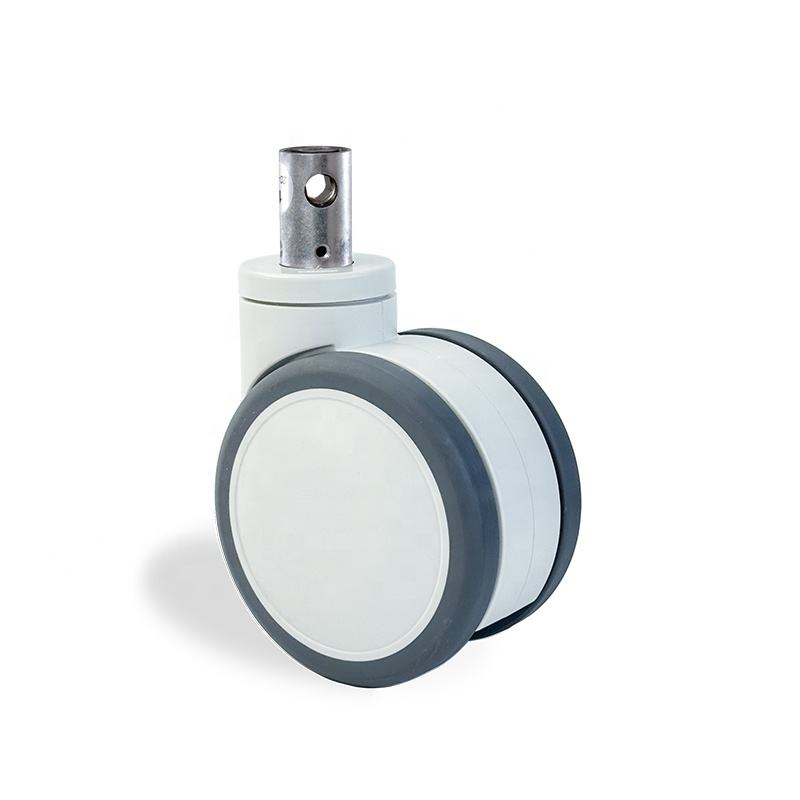
Casters allow the bed to move easily when needed.
Steps:
- Turn the bed frame slightly to access the caster sockets.
- Insert each caster stem into the designated socket.
- Tighten or lock them according to the manufacturer’s design.
- Engage the brake system to test stability.
Many hospital beds use central locking casters for improved safety.
Install the Adjustment System
Hospital beds may use manual crank systems or electric motors.
Manual hospital beds
- Insert the crank handle into the crank shaft.
- Secure it using the provided fastening system.
- Rotate the handle to test backrest and leg adjustments.
Electric hospital beds
- Install the electric motors in their mounting brackets.
- Connect the control cables.
- Plug the system into a power supply.
- Test the remote controller functions.
Ensure all moving parts operate smoothly without unusual noise.
Install Accessories
Accessories improve patient care and usability.
Common accessories include:
- IV poles
- Urine bag hooks
- Overbed tables
- Bedside rails or support bars
Attach accessories according to the manufacturer’s instructions.
Place the Mattress
After assembling the bed structure, install the mattress.
Steps:
- Place the mattress evenly on the bed platform.
- Ensure the mattress size matches the bed frame.
- Check that it does not shift when the bed adjusts.
Specialized medical mattresses may include pressure relief or waterproof covers.

Perform Safety Checks
Before the bed is used, conduct a full safety inspection.
Checklist:
- Confirm all bolts and screws are tightened.
- Ensure side rails lock securely.
- Test the braking system of the casters.
- Operate all adjustment functions.
- Verify electrical components work properly.
- Confirm the bed remains stable under load.
These checks help prevent accidents and ensure patient safety.
Conclusion
Proper installation of a hospital bed is essential for safety, durability, and efficient patient care. By carefully assembling the frame, installing key components such as side rails and casters, and thoroughly testing all adjustment functions, caregivers can ensure the bed operates reliably in hospitals, clinics, and home care environments.
Following a structured installation process not only protects patients but also reduces maintenance issues and extends the lifespan of the equipment. Regular inspection after installation further helps maintain optimal performance and safety.